Guitar and music
Guitars, Music and Recording
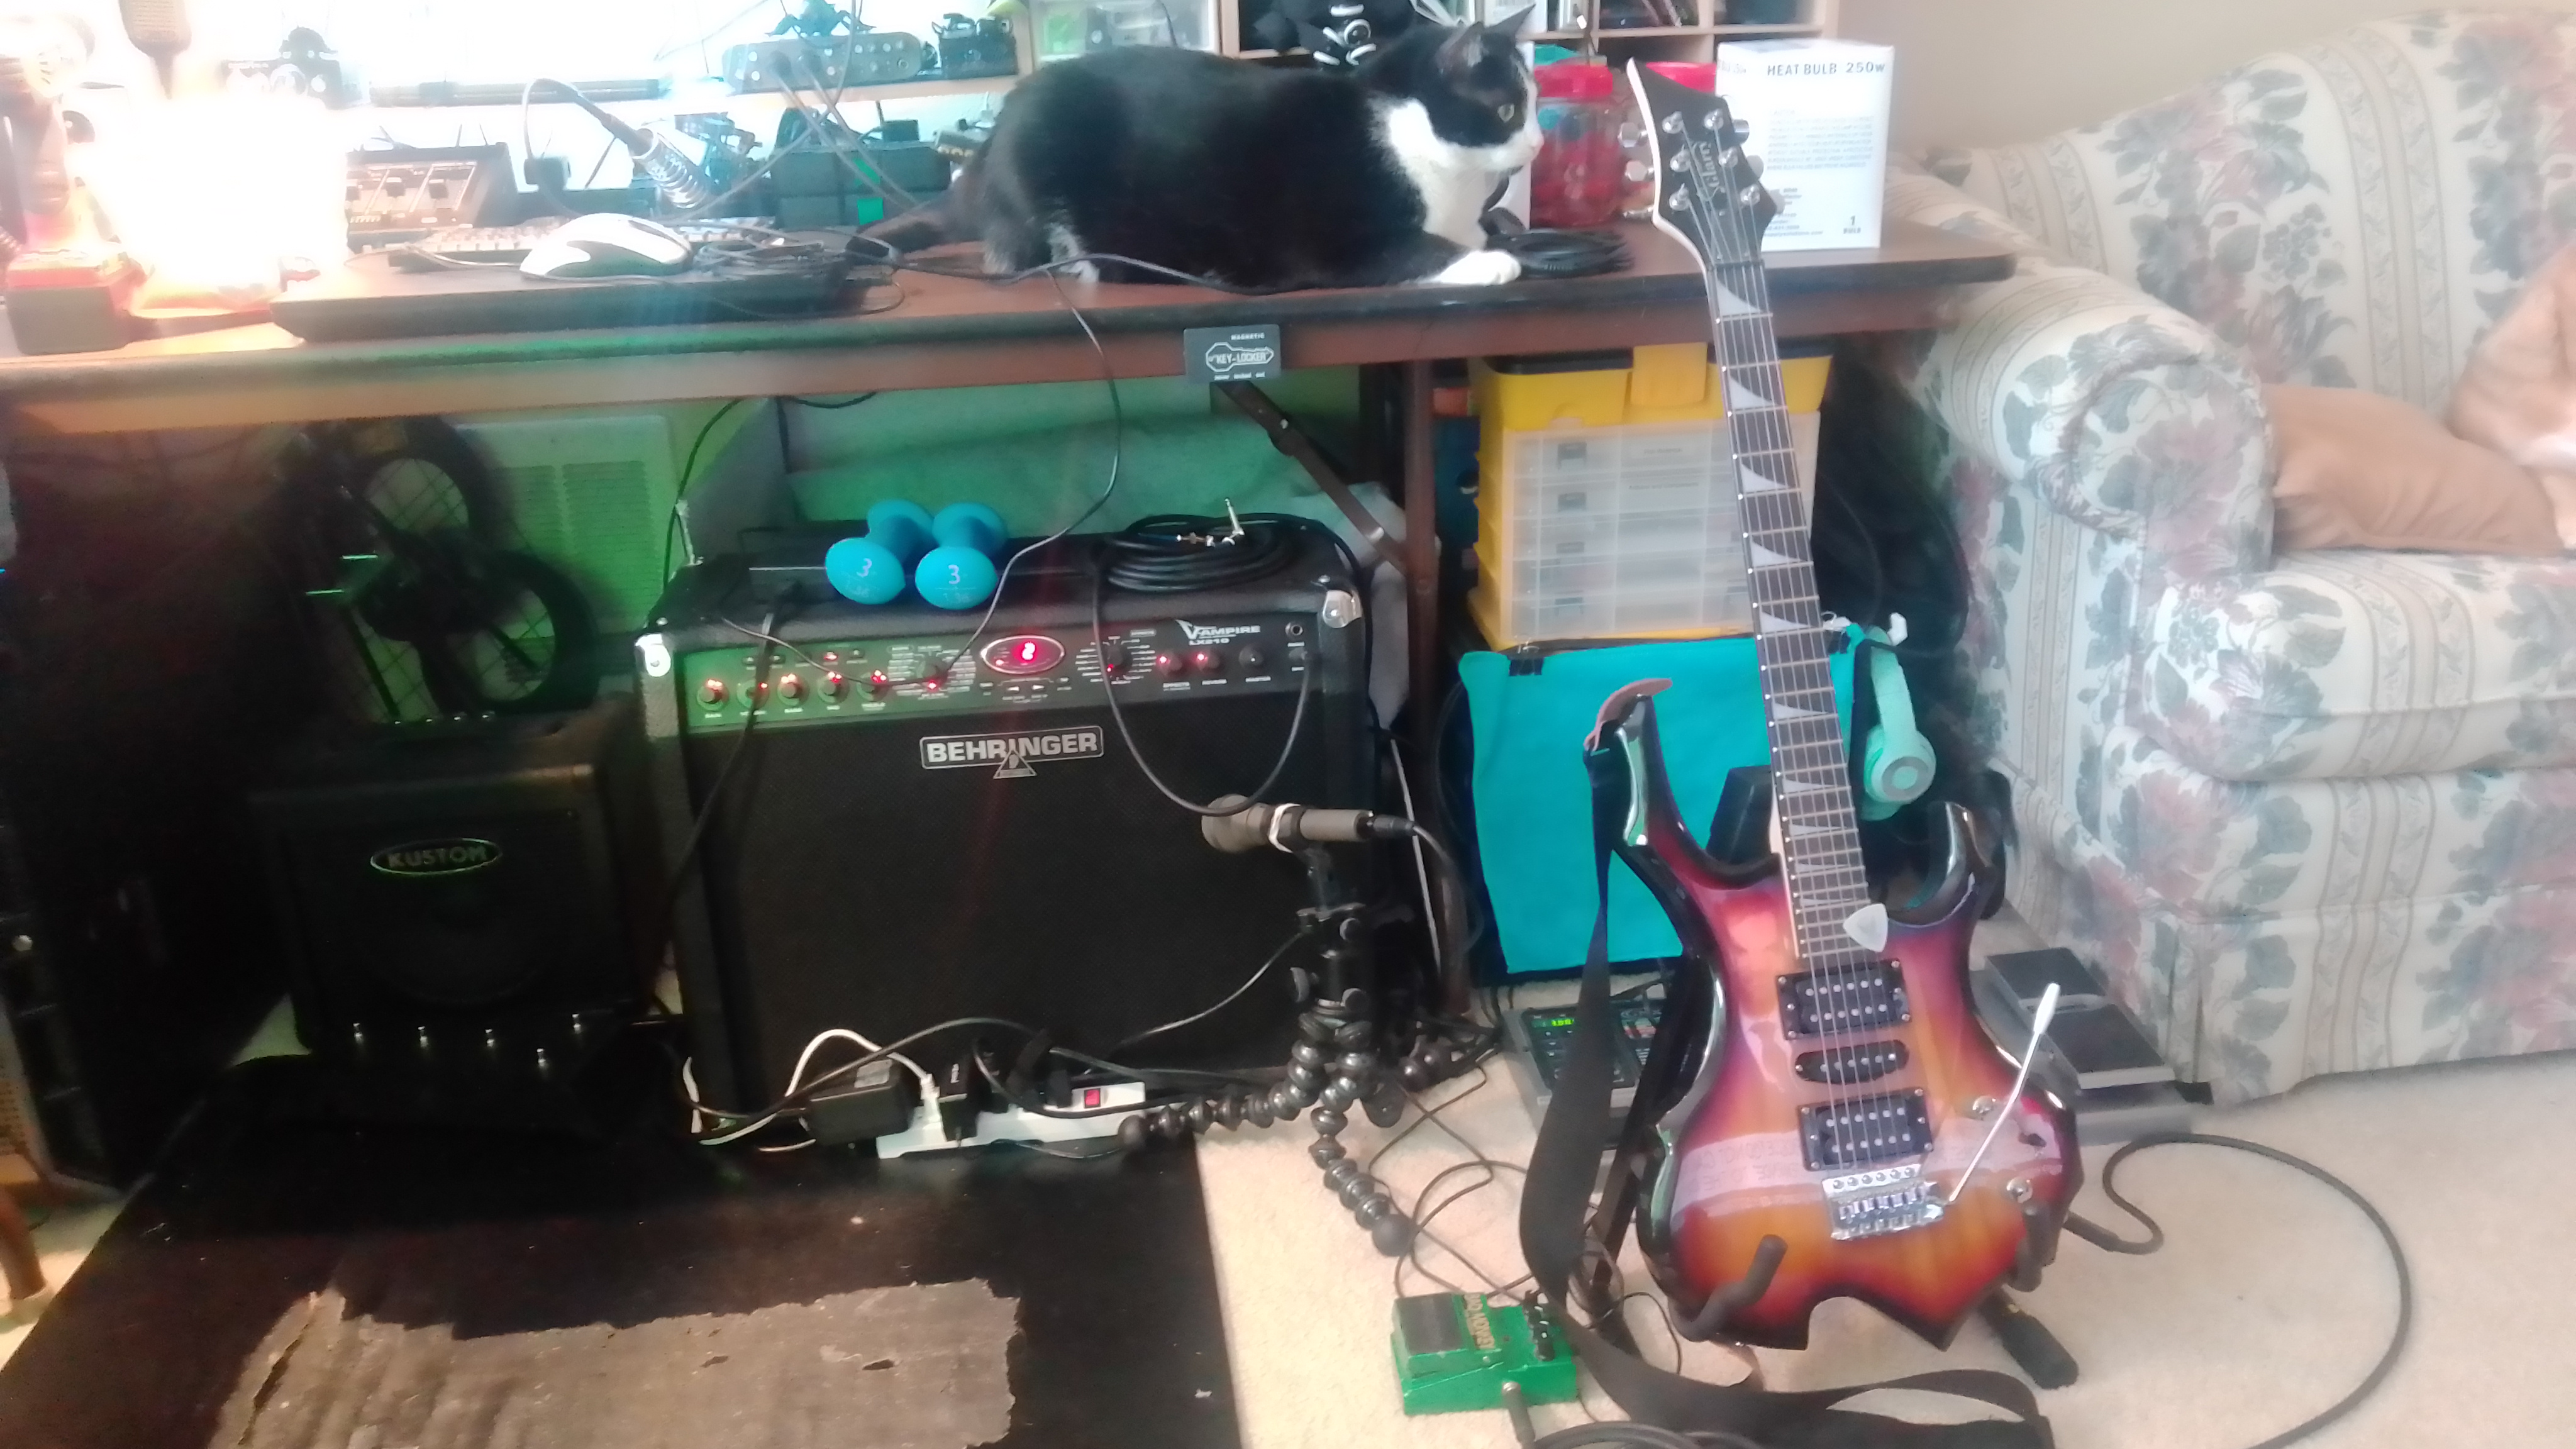
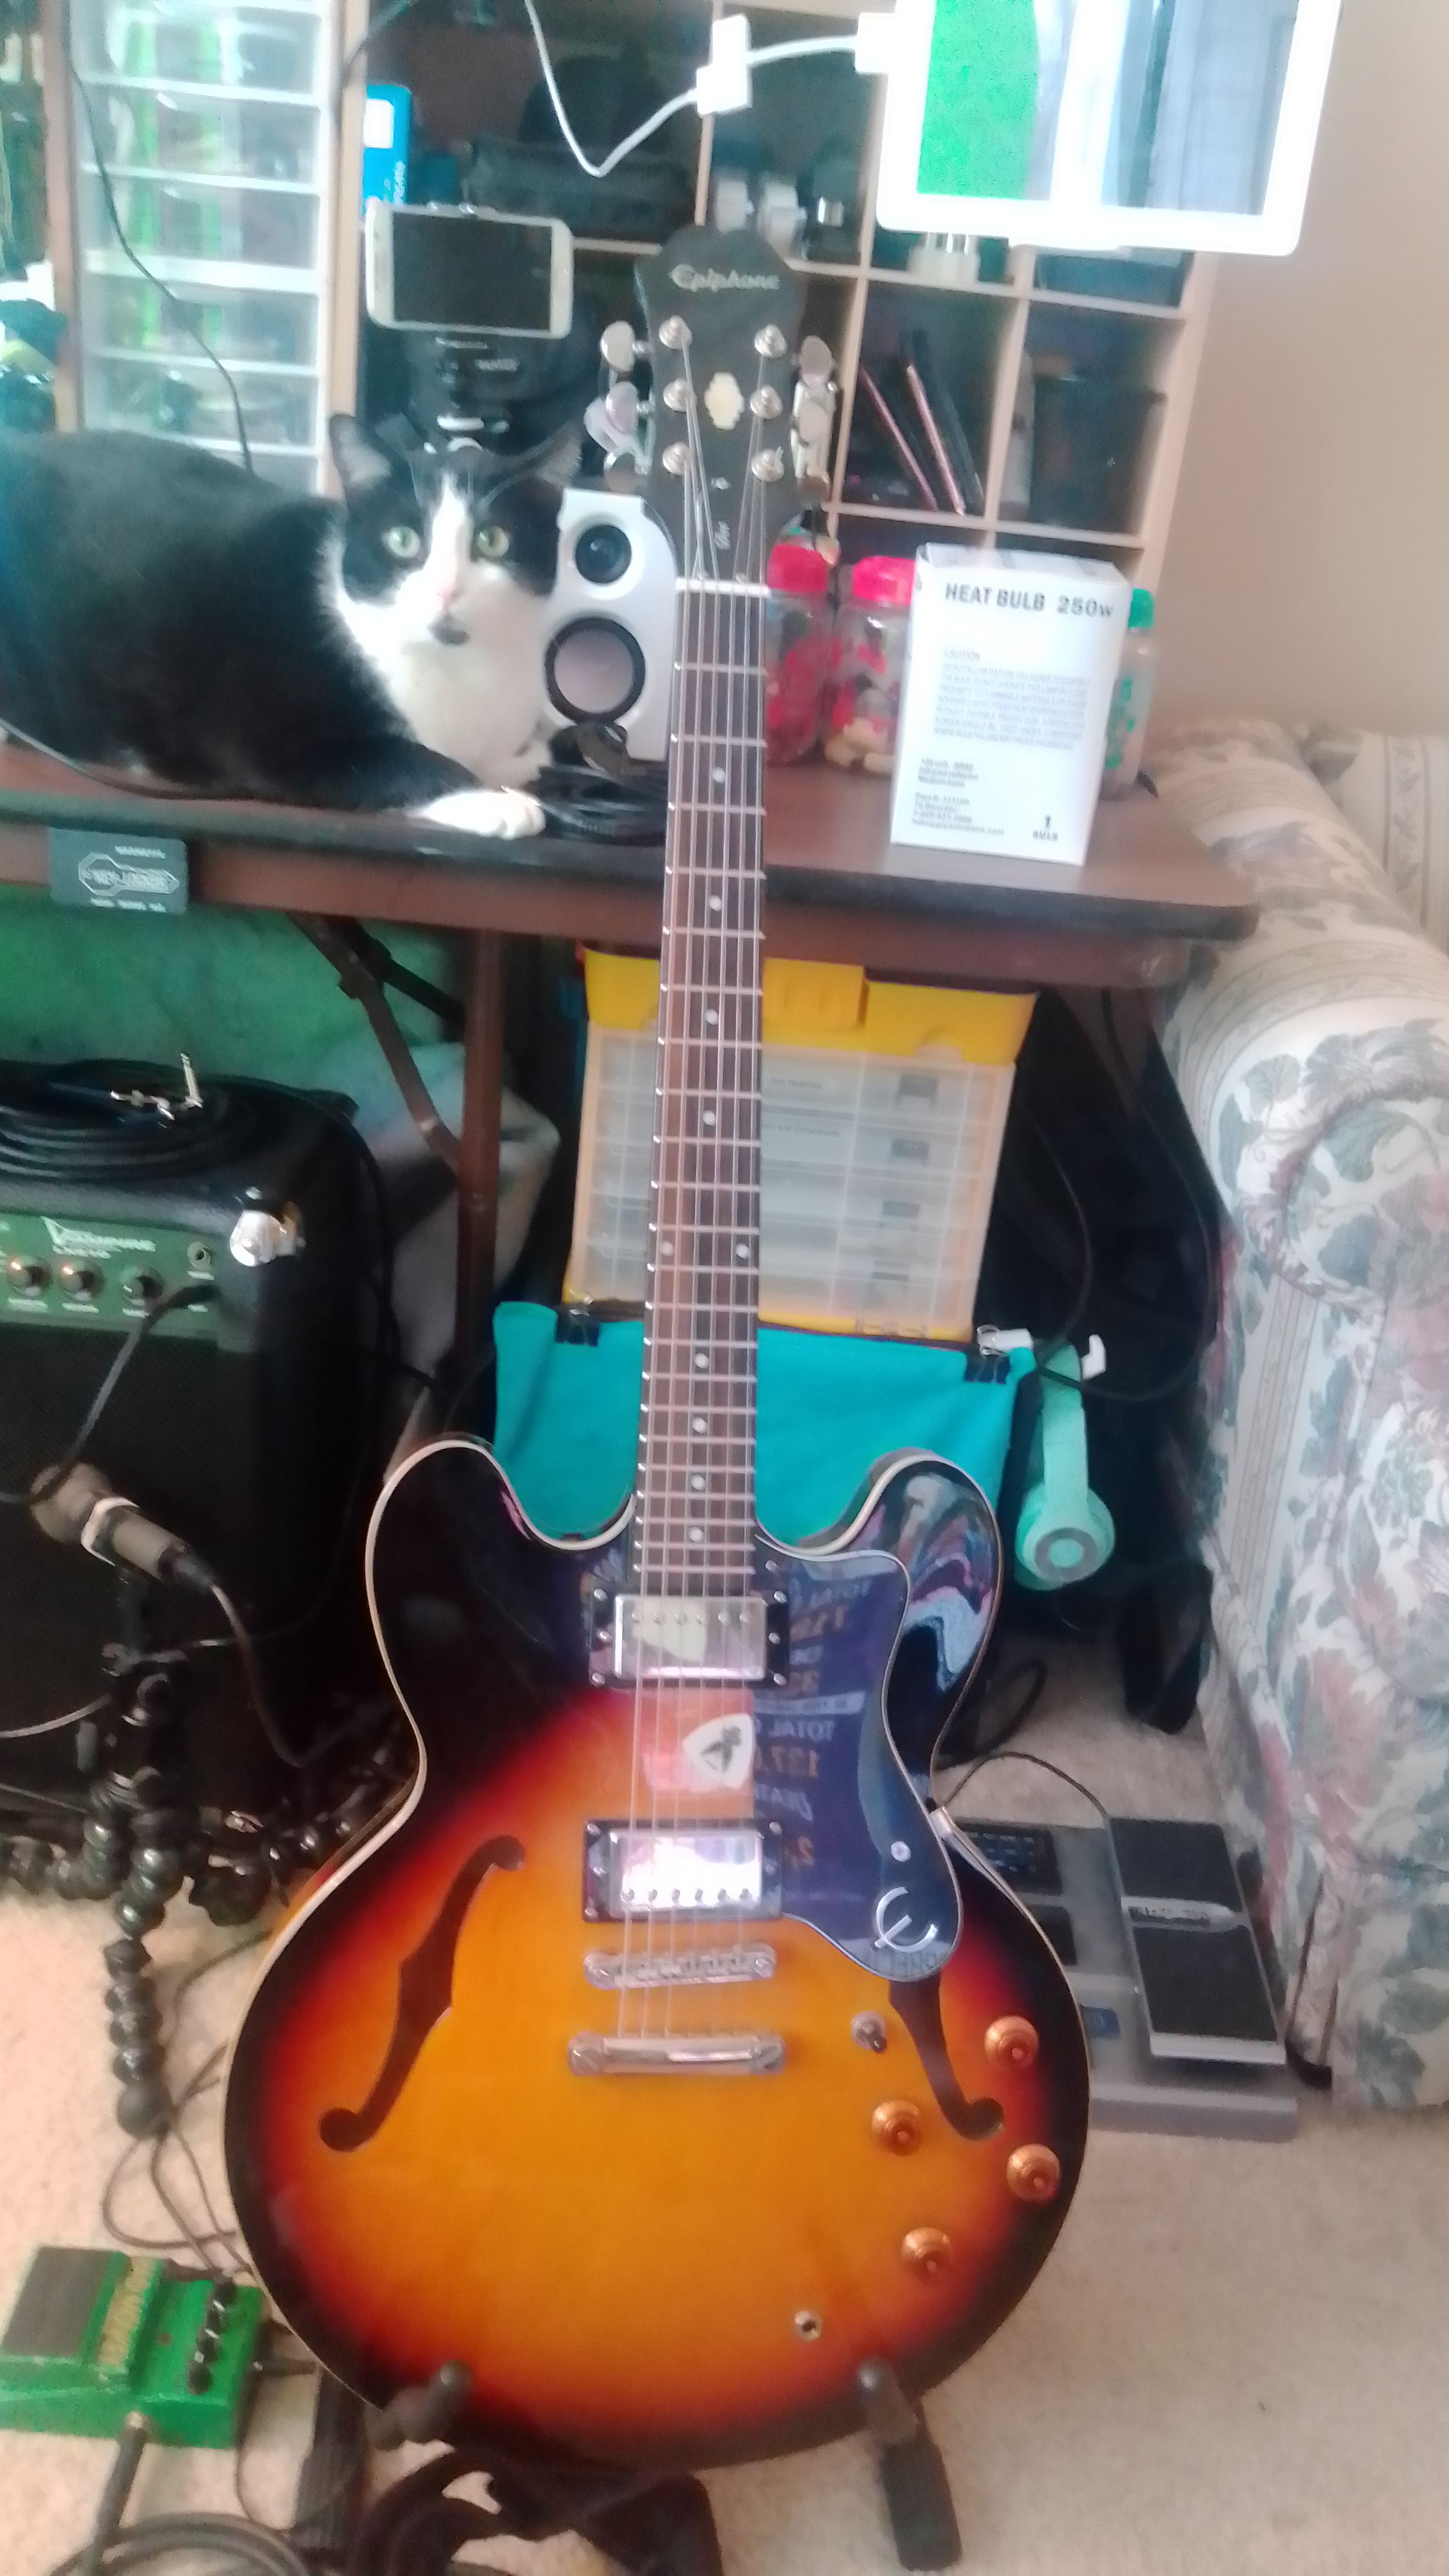
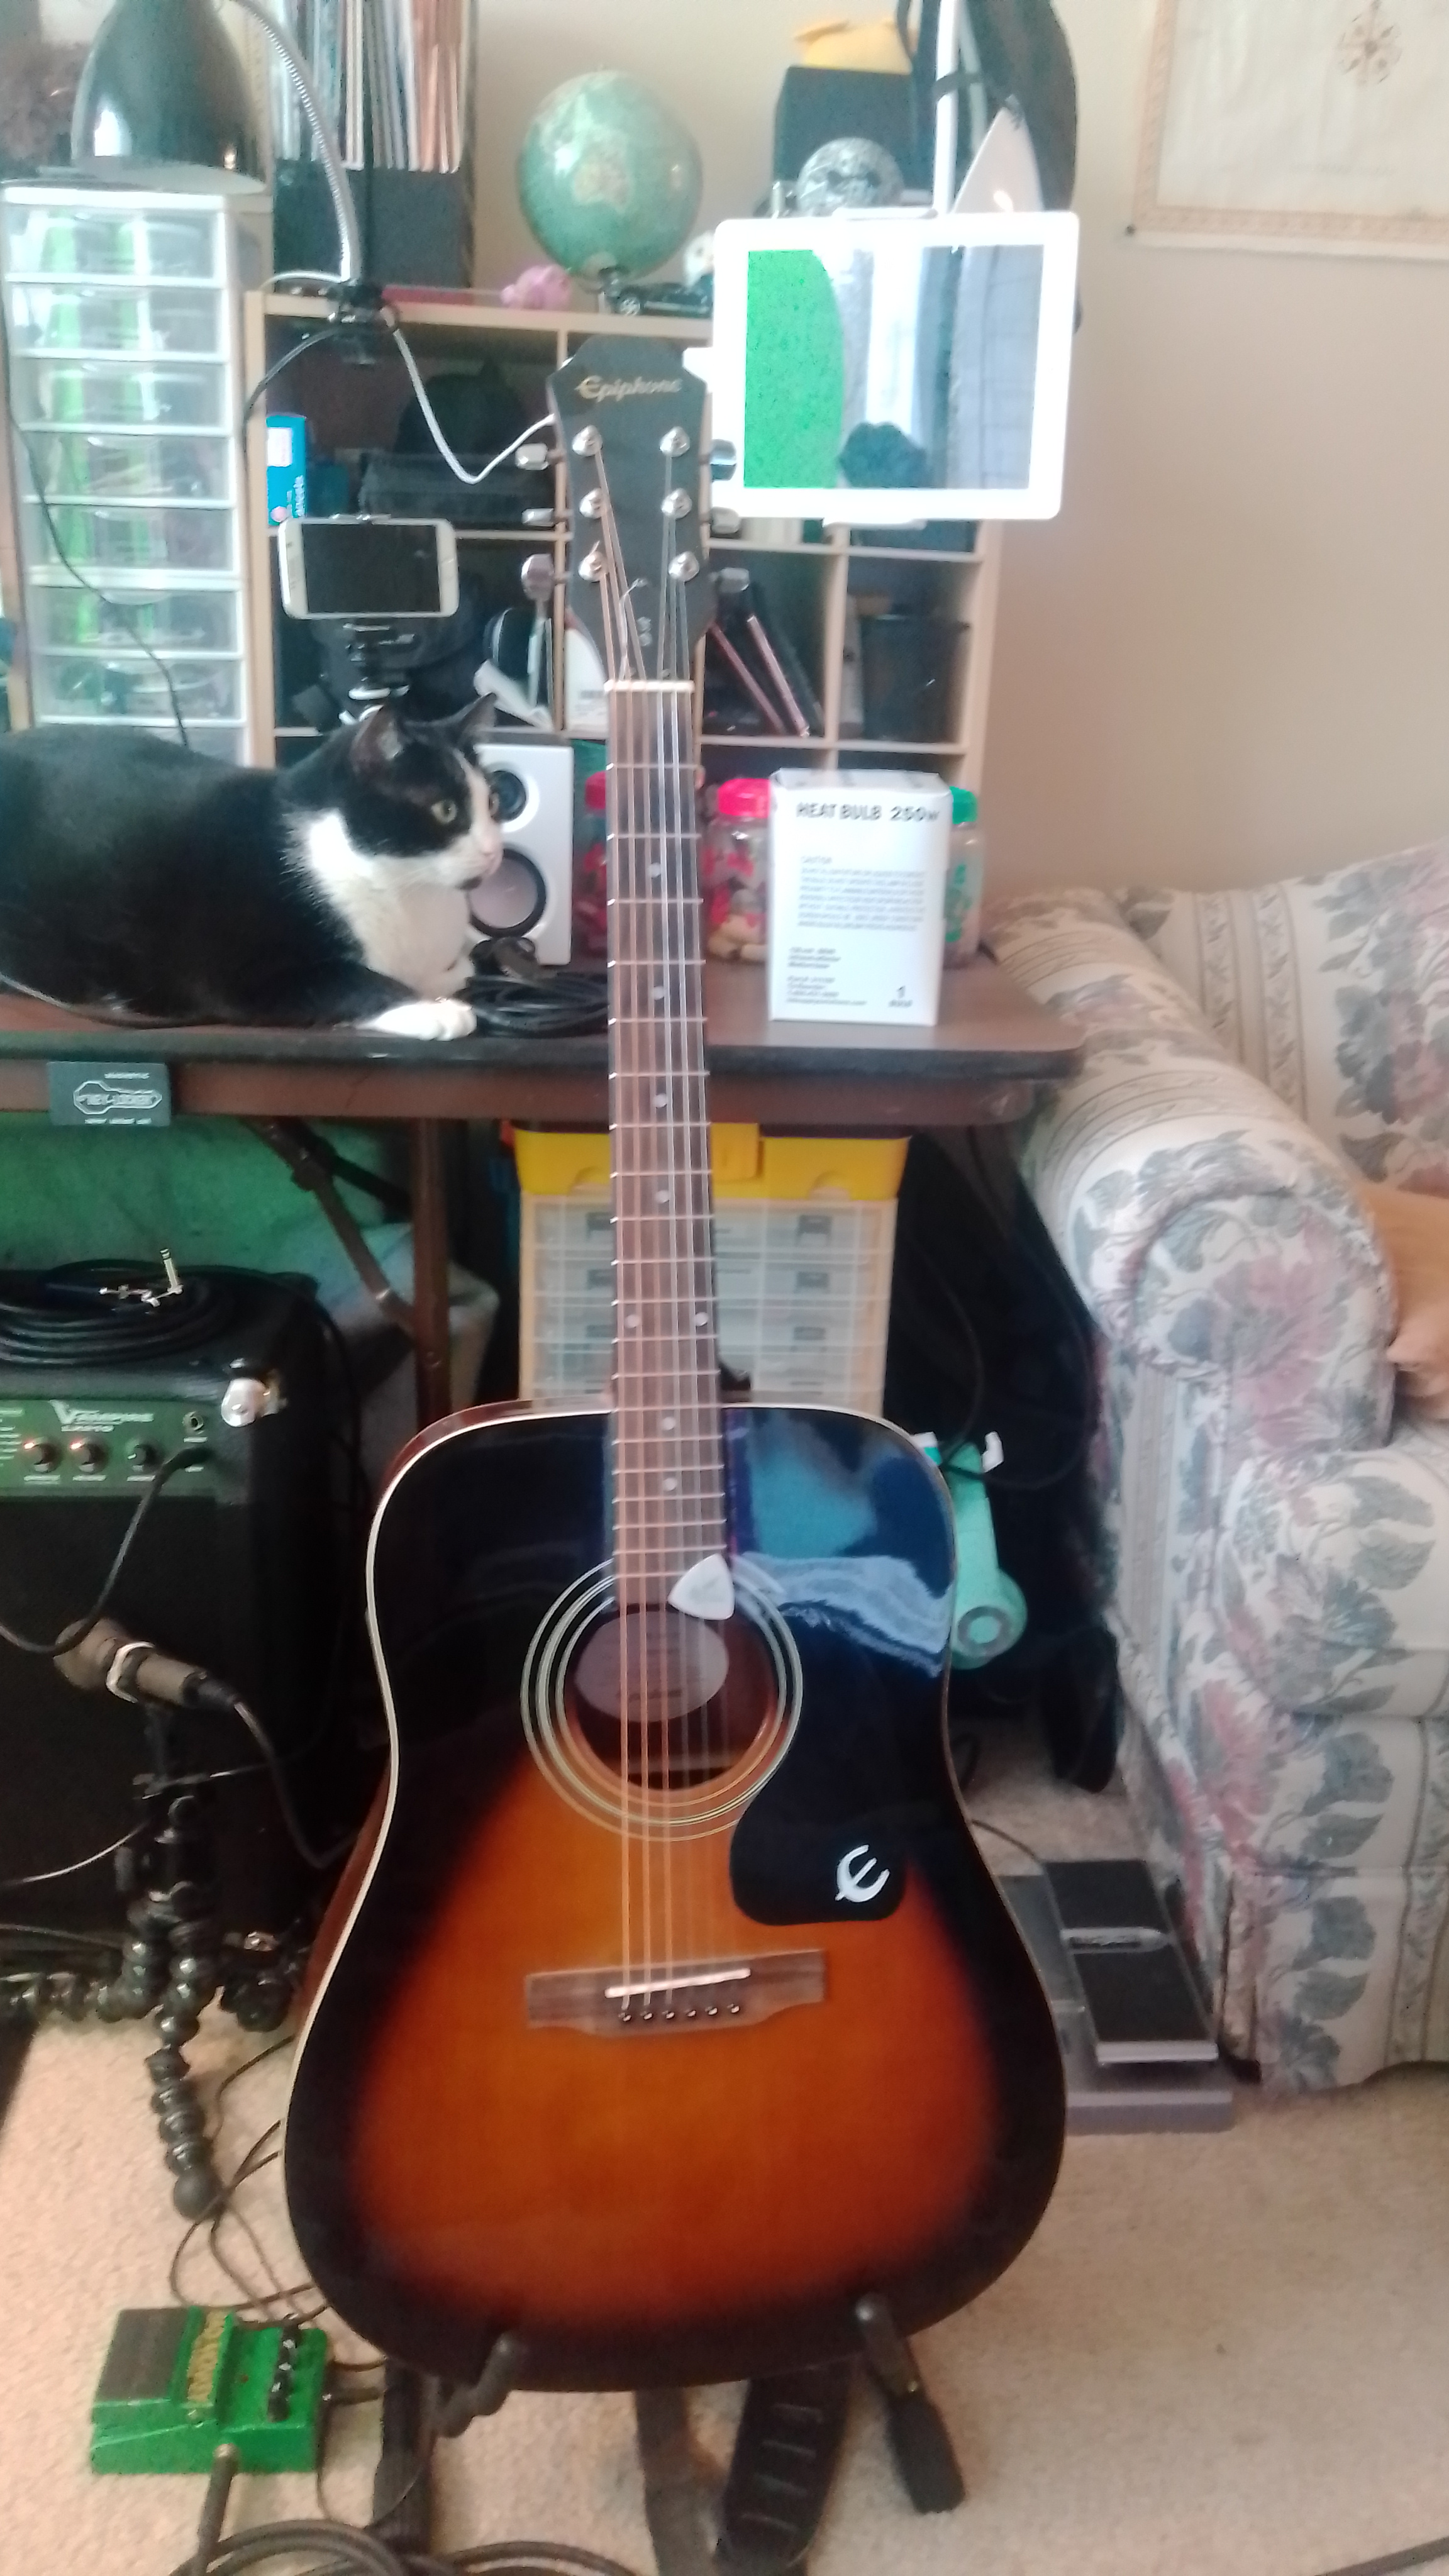
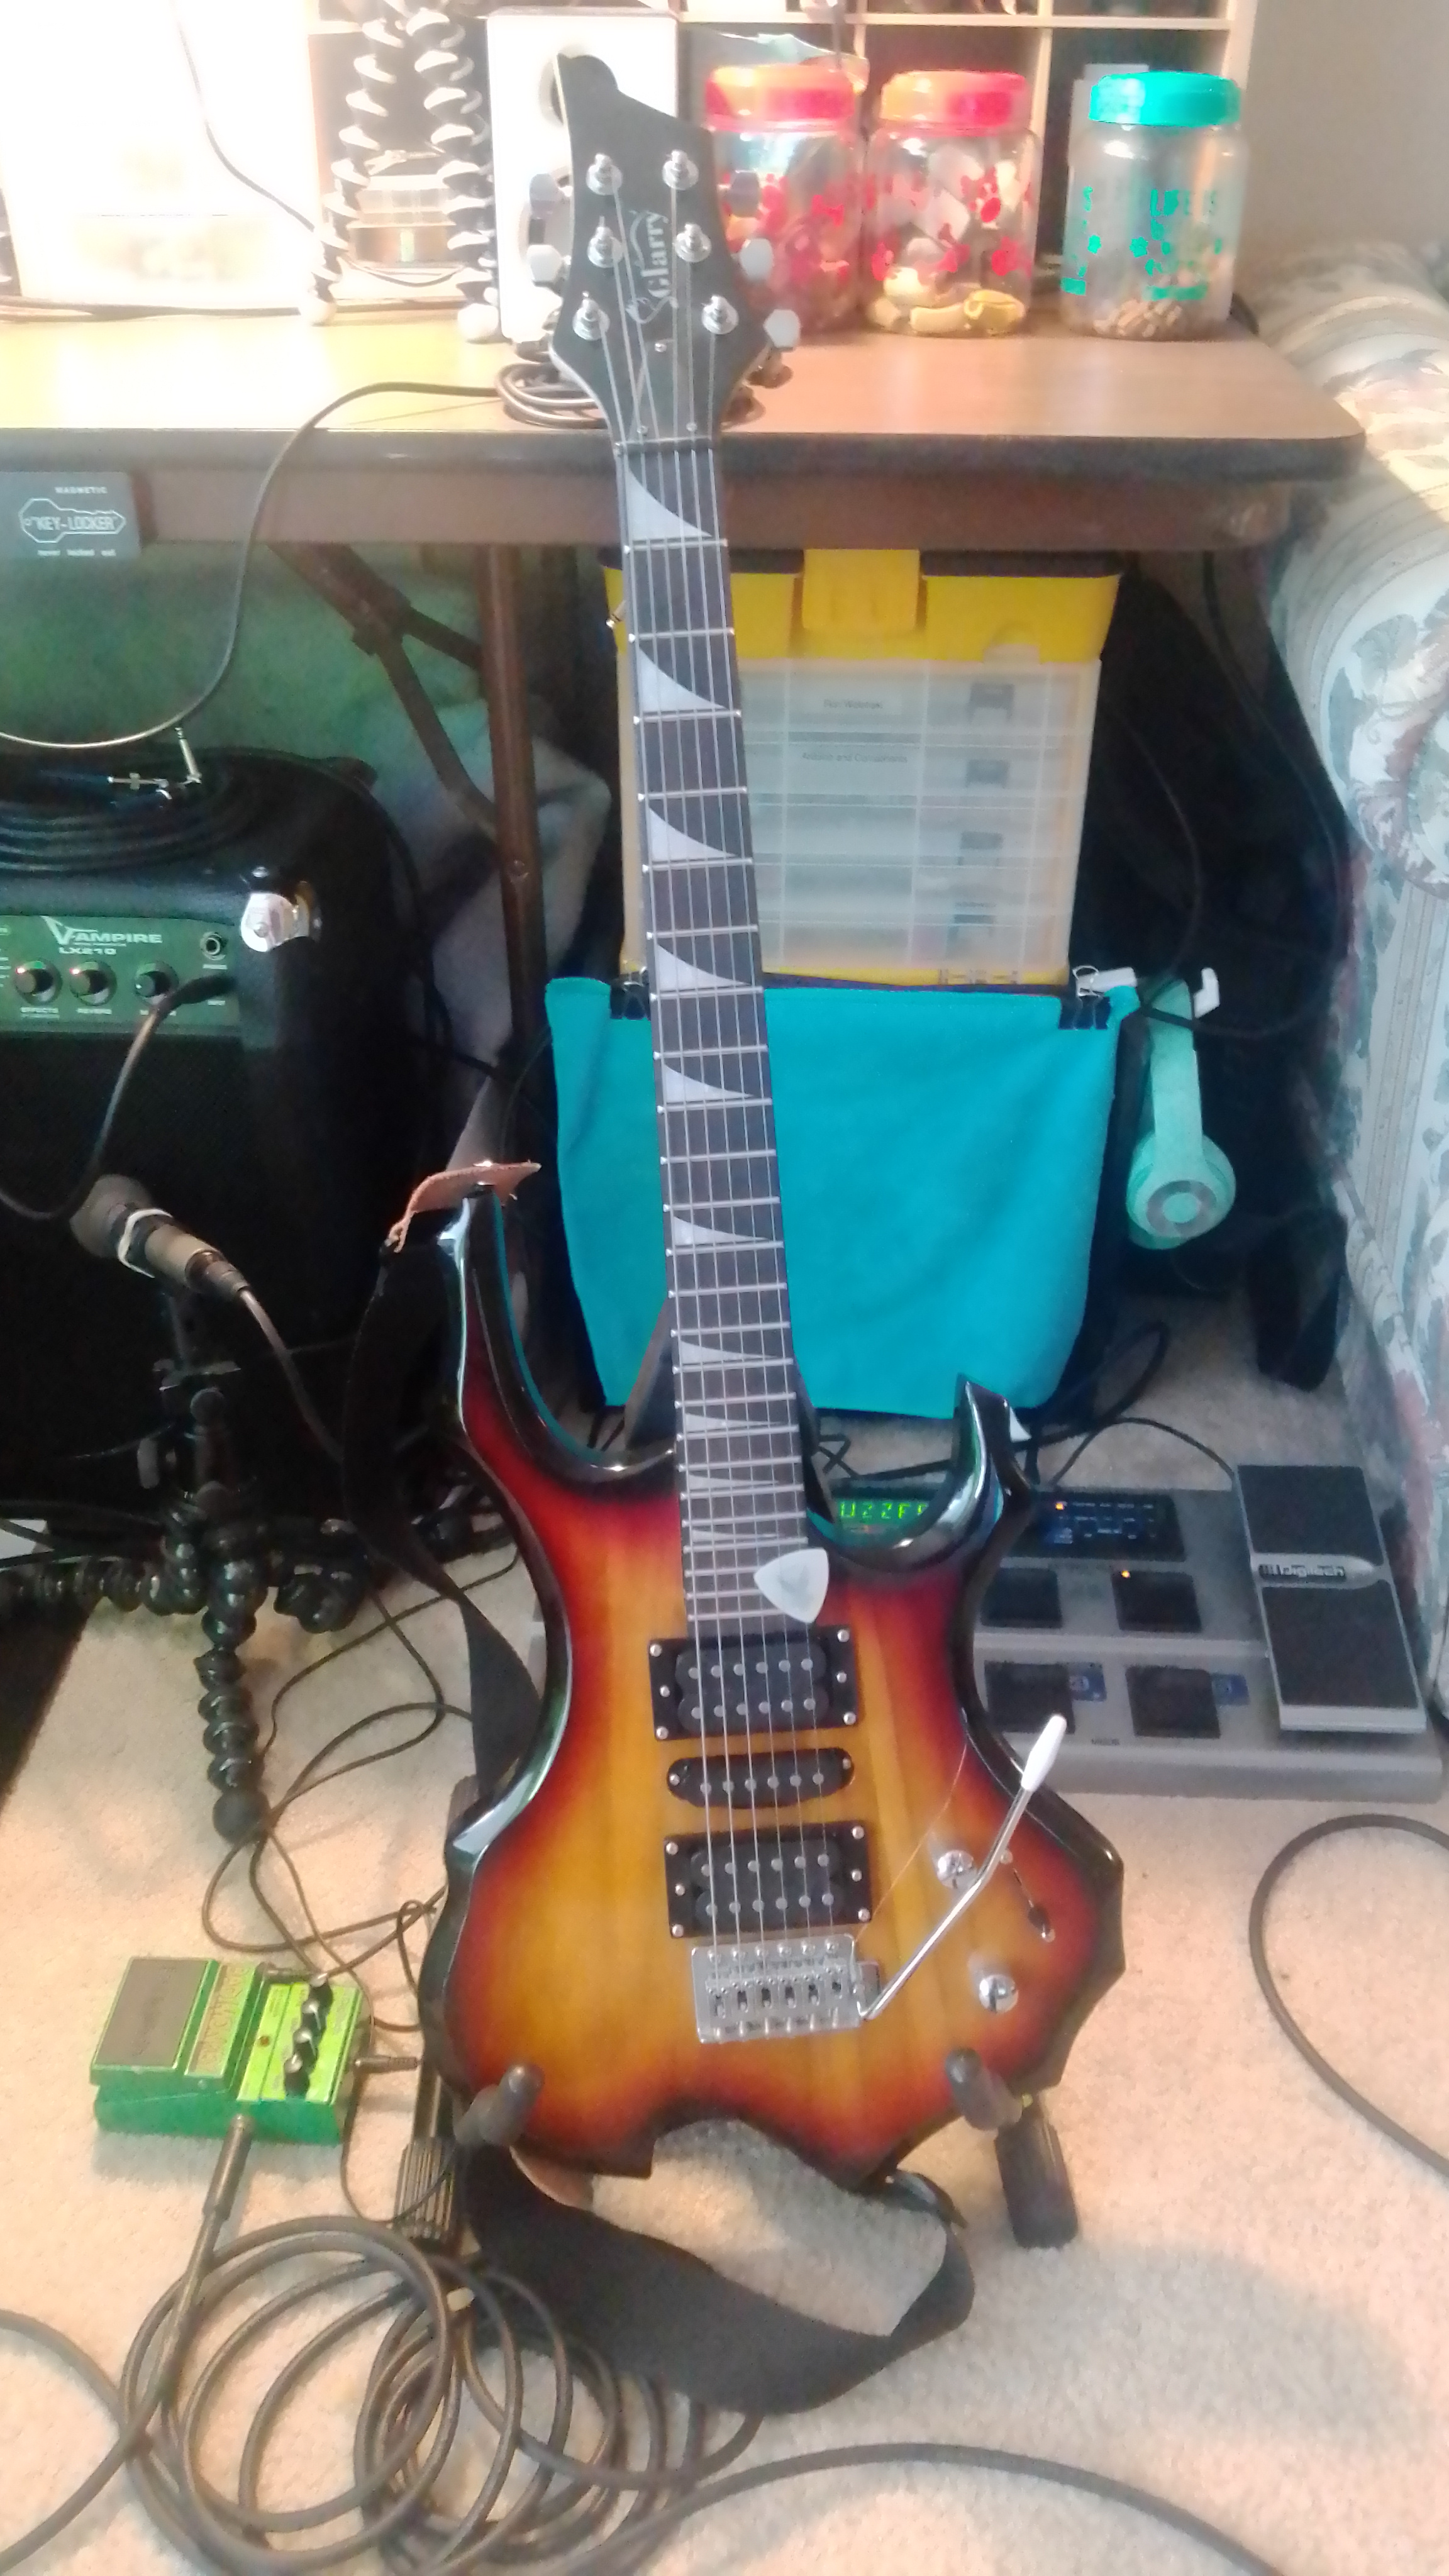
I play guitar. Played years ago in my teen days, stopped playing and now picking it back up again. My guitars are Epiphone Dot, a Glarry Burning fire, and Epiphone DR100 acoustic guitar. My amps are a Kustom 8" bass amp, and a Behringer V-Ampire LX210 modeling amp. My pedals consist of a GNX4 Guitar Workstation, and a Bad Monkey Tube Screamer. I also have a M-Audio Fast Track Pro USB Audio Interface to interface with the computer.
Amp Setup
I decided to setup a recording set. I wanted to learn some keyboards, so I bought a Alesis V25 MIDI Controller. It was on sale on Amazon. I was going to get it from Guitar Center but it had to be delivered, and from prior purchases their 3-5 business days delivery usually turns into 2-3 weeks instead. Learned from that, if you I want something on sale from Guitar Center it better be in stock, or else look on Amazon. You have to be careful buying used equipment from Guitar Center too. I saw my Bad Monkey Tube Screamer used at a good price, went to buy it and they informed me it had a "waiting period" of 4 weeks before you can actually buy it, but it was just put on display. I had to put it in layaway and wait four weeks.
Back to the MIDI controller, I previously used Pro Tools First, using the MIDI USB port on the GNX4 for input. For some reason one day Pro Tools crashed on me and I couldn't get it working again. And it didn't support any VST plugins. I tried uninstalling and re-installing but it keep giving me an error when it started. When I purhased the Alesis V25 it came with a version of Ableton Live 10 Lite. I wanted to mic my amp instead of using the GNX4's MIDI interface, and I was having problems with the generic ASIO. I came across a used M-Audio Fast Track Pro USB Audio Interface on Offerup for $30. Had some trouble with it using ASIO and Windows audio drivers, but after some searching I found a M-Audio driver files and utilities. Using the M-Audio ASIO drivers worked well with ABleton Live. I purchased a Alto DVM5 microphone which was on sale from Guitar Center (and which I had to wait 4 weeks on their "3-5 business days" delivery). And now I have the recently converted ElectroVoice PL76 microphone. Plus the Behringer LX210 amp has a direct out XLR interface. I can either mic the amp or use the amps direct out into the M-Audio. A Tascam TH-200X headset rounds out the equipment. I'm using a Swann M10 speakers system for monitoring. I also have a CAsio CTK451 61 key keyboad that has a MIDI interface which can be connected to the M-Audio Fast Track Pro's MIDI interface.
Fishing
Pets and Animals
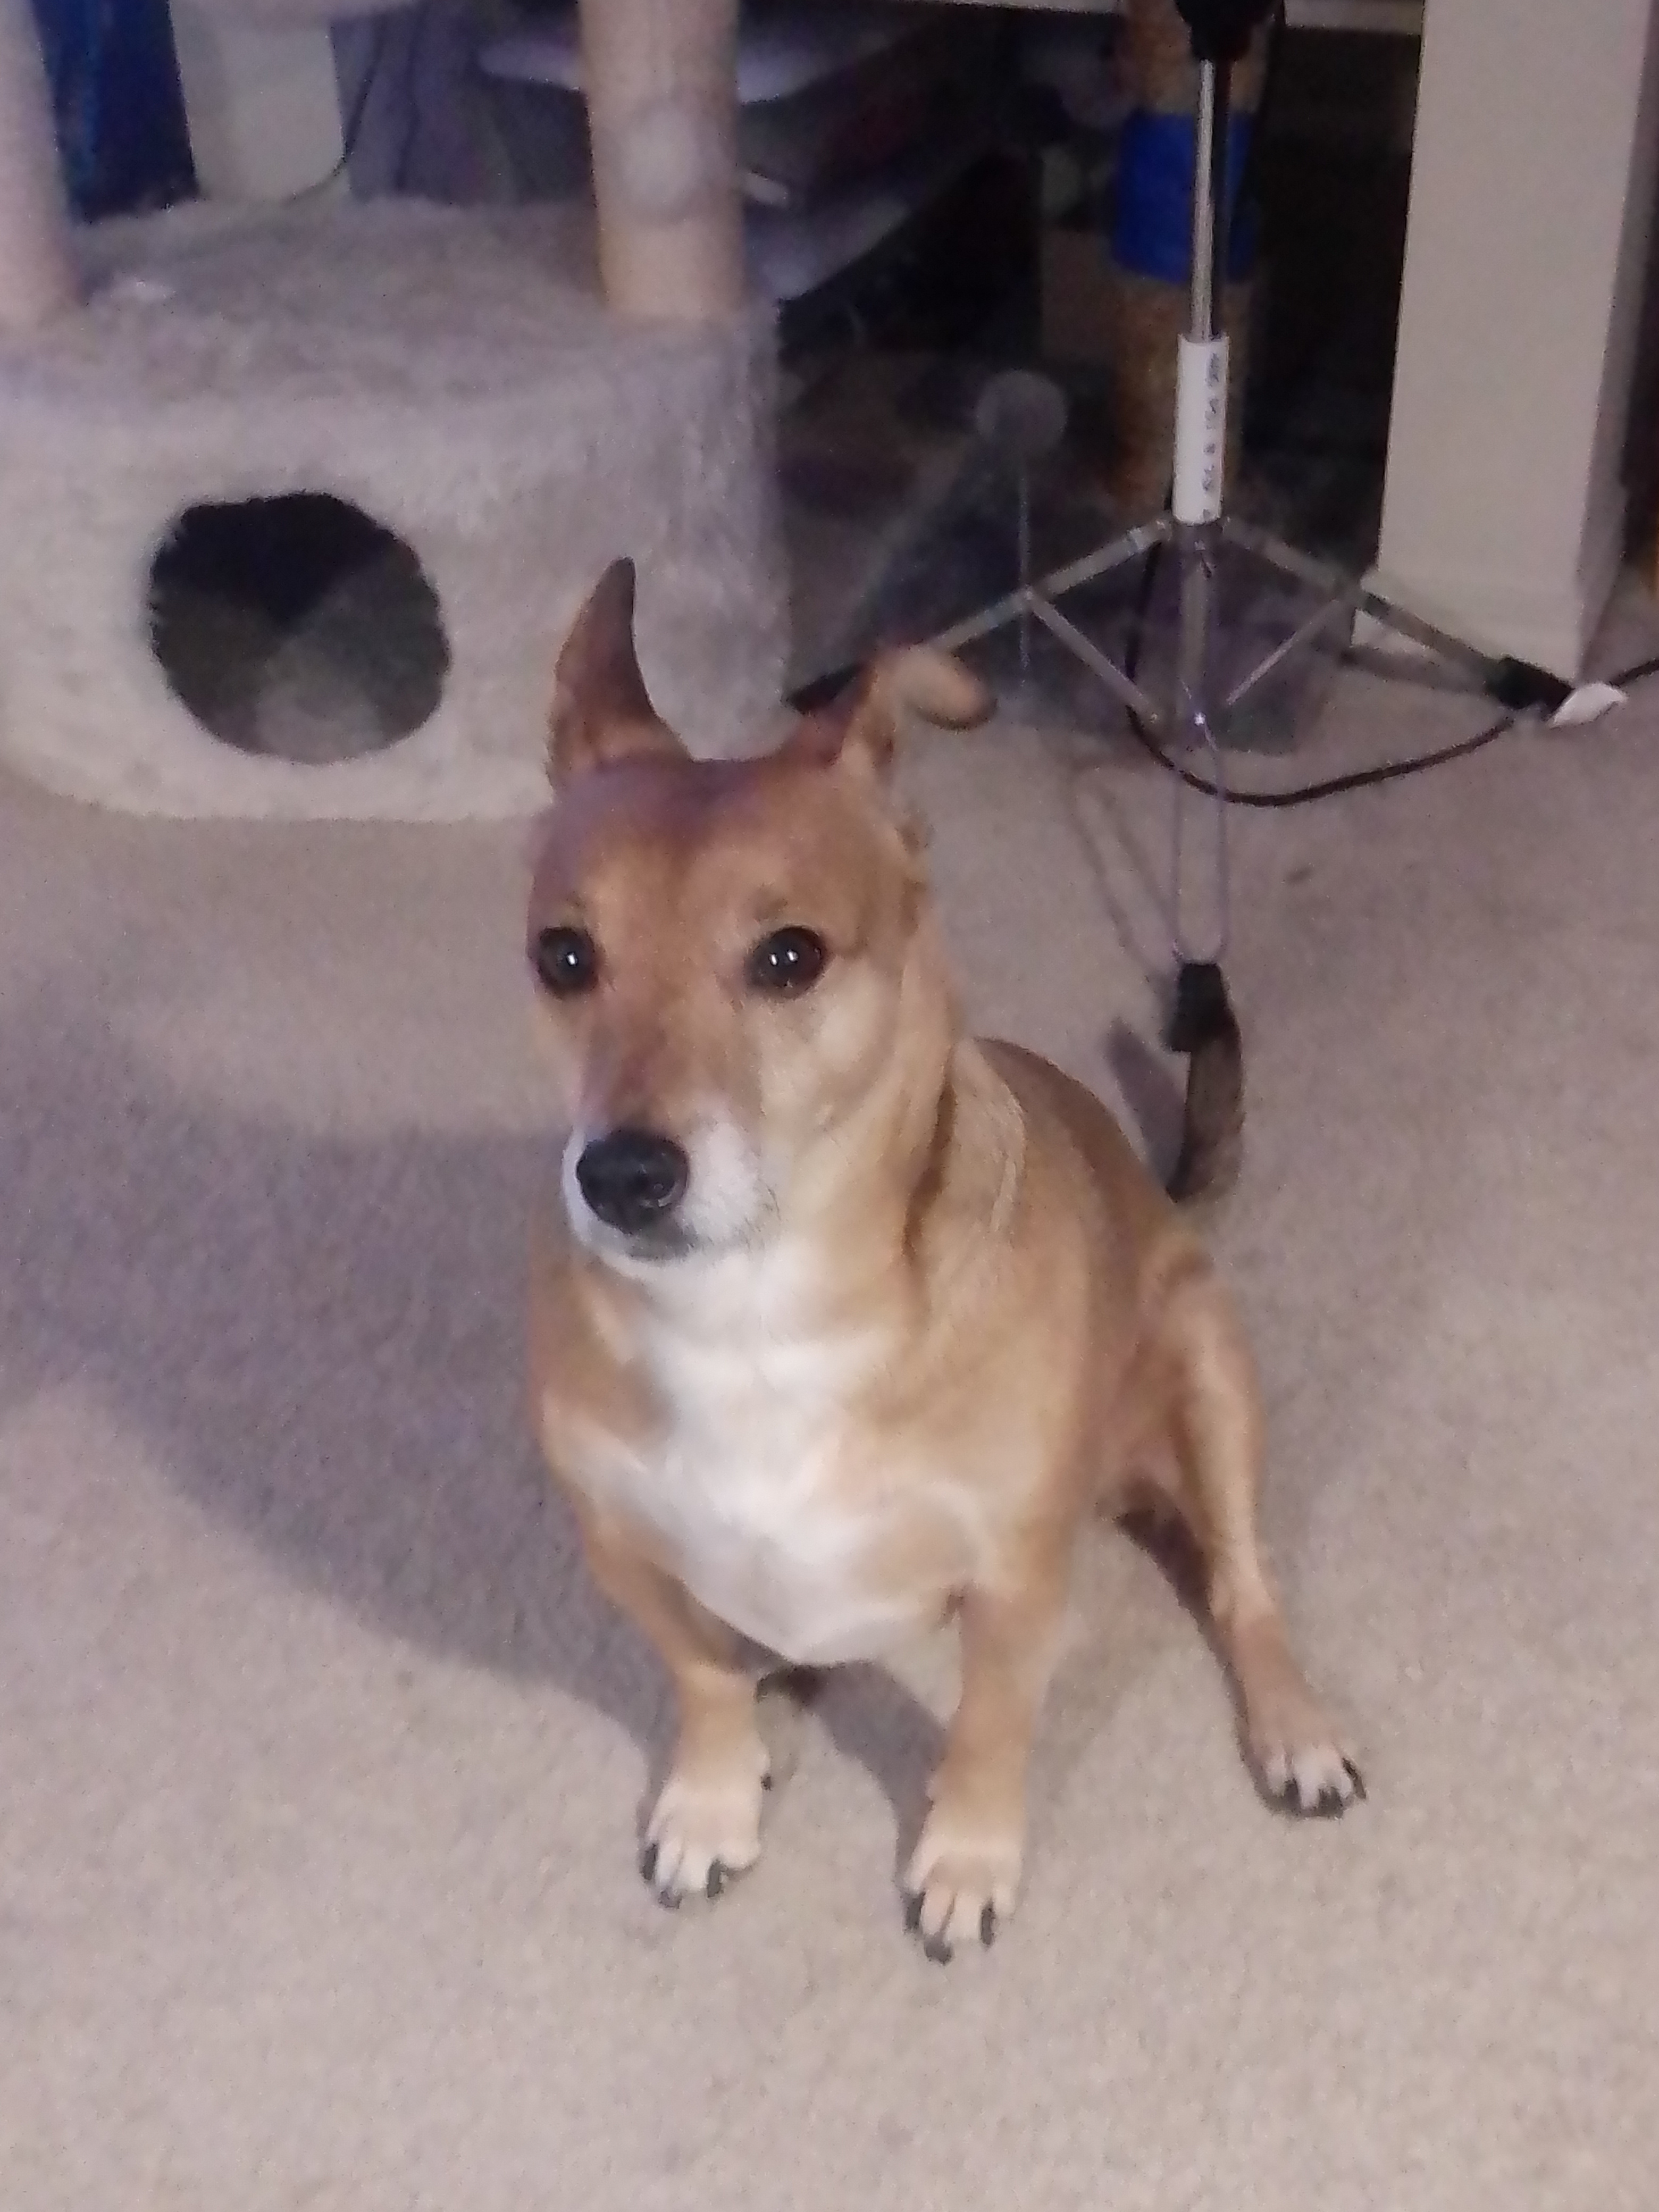
Prince
Best puppie in the world, our Prince. Prince is a Basenji, the African bark-less dog. A Basenji is one of the most ancient breed of dogs, originated as a hunting dog in Africa.